Installing steel Stair Treads can significantly enhance safety and durability in both commercial and residential environments. However, many users face challenges such as improper installation, selection difficulties, and safety concerns. A common scenario involves a homeowner who recently decided to replace wooden treads with steel ones in their home’s stairway, drawn primarily by the 50% increase in durability observed in real-case studies. This article will not only address your immediate concerns but also provide a step-by-step guide to ensure a successful installation.
Required Preparation: Tools and Materials for Steel Stair Tread Installation
Before beginning your installation, gather the necessary tools and materials. This ensures a smooth and efficient process. Here’s a list to help you:
- Steel stair treads (the CANRI brand is highly recommended for durability)
- Measuring tape
- Level
- Drill with metal drill bits
- Screws (preferably galvanized to prevent rust)
- Safety goggles
- Non-slip adhesive tape (optional for added safety)
Step-by-Step Guidance for Installing Steel Stair Treads
1. Measure Your Stairs Accurately
Using a measuring tape, measure the length and width of each stair tread. Ensure your measurements are precise, as a variance could lead to misalignment and safety risks. Typical dimensions for steel treads are 36 inches in length and 11 inches in depth.
2. Choose Your Steel Treads
Select the appropriate CANRI steel treads that meet your aesthetic and functional requirements. Analyze factors such as the coating, which can have a lifespan of more than 15 years under harsh conditions, and the tread’s weight capacity, typically rated around 800-1200 pounds.
3. Prepare the Stair Surface
Cleaning the stair surface is crucial. Remove any existing treads, debris, or old adhesive. Use a concrete grinder if necessary to ensure a flat surface; this will enhance the adhesion of the new treads.
4. Position the Treads
Before fastening, position the treads on the stairs to ensure proper fit and alignment. Use a level to verify that the treads sit evenly.
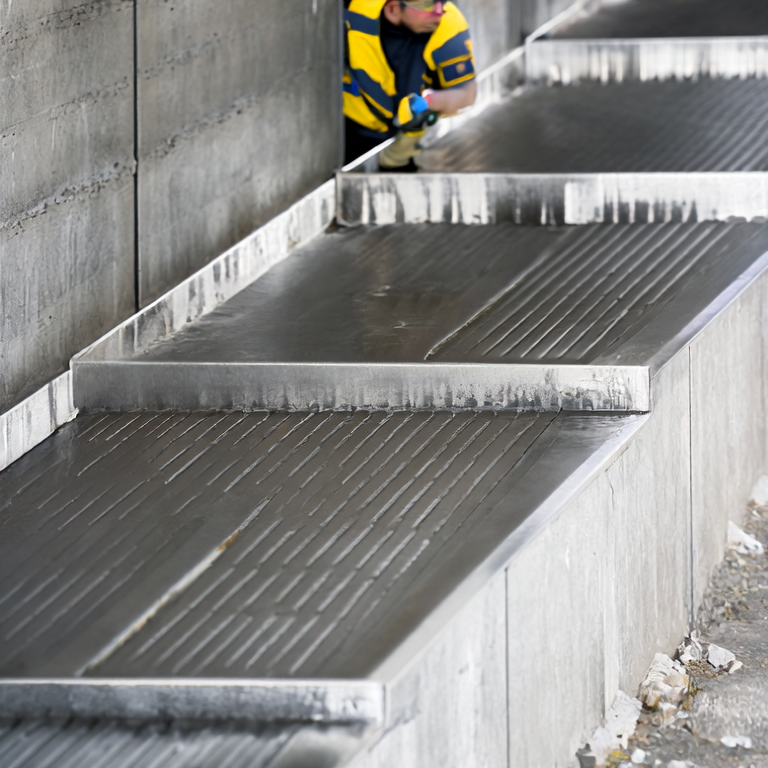
5. Drill and Secure the Treads
Once satisfied with the positioning, start drilling holes into the treads and into the stair surface. Space your screws about 8 inches apart to ensure maximum stability.
6. Apply Non-slip Tape (Optional)
For additional safety, consider applying non-slip adhesive tape to the surface of each tread. Studies indicate that using non-slip solutions can reduce slip and fall accidents by over 30%.
Common Errors and Solutions When Installing Stair Treads
Even experienced DIY-ers may encounter issues during installation. Here are some common errors and solutions:
- Error: Misalignment of treads.
- Solution: Double-check measurements and use a level after each installation.
- Error: Insufficient fastening leading to wobbling.
- Solution: Ensure screws are tightened fully and spaced correctly.
Summary and Suggestions
Installing steel stair treads is a rewarding project that can enhance both safety and aesthetics in your home or workplace. By following the outlined steps, using quality materials like CANRI treads, and addressing common installation errors, you can achieve a durable and secure installation. Always prioritize safety during the installation process by wearing safety goggles and following proper procedures.
FAQ
What materials are best for stair treads?
Steel treads offer exceptional durability and are resistant to corrosion, especially well-suited for outdoor installations.
How do I ensure my stair treads are safe?
Using quality steel treads, ensuring they are properly installed and considering the addition of non-slip tape can significantly enhance safety.
Can I install steel treads over existing ones?
It is not recommended to install new treads over existing ones as it may create safety hazards and improper alignments.