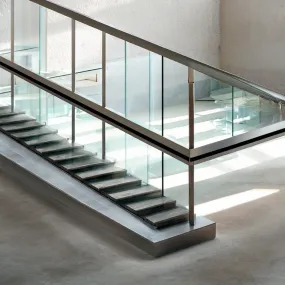
Installing handrails and railings correctly is crucial for safety and aesthetic purposes. Many homeowners face challenges such as stability, compliance with building codes, and selecting durable materials. Implementing best practices not only enhances safety but also ensures compliance, potentially increasing property value. In this article, we will explore effective techniques and guidelines for proper handrail and railing installation, helping you avoid common pitfalls while achieving a reliable and stylish barrier in your home.
Before beginning your installation, it is essential to understand the specific handrail and railings requirements. Adhering to local building codes is critical, as they dictate the minimum height, distance between bars, and load-bearing capabilities. According to the International Building Code (IBC), handrails must be 34 to 38 inches above the stair nosings. Moreover, a maximum opening of 4 inches between railing balusters is necessary to prevent children from getting stuck.
Best Practices for Handrail and Railings Installation
1. Selecting the Right Materials
Why: Choosing the appropriate material impacts durability and aesthetics.
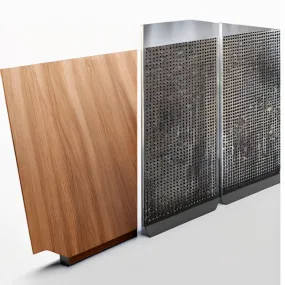
Various materials exist for handrails and railings, including wood, metal, and composite. For outdoor applications, consider using aluminum or galvanized steel for their rust-resistance properties, while wood or vinyl is more suited for interior installations. CANRI offers a wide range of durable options tailored for specific settings.
2. Measuring Accurately
Why: Proper measurements ensure a secure and safe fit for your installation.
Begin by measuring the height and length of where you will install the handrail or railing. Accurate measurements allow for a precise fit and can prevent costly errors. A measuring tape should be used to assess the length of the staircase and mark hand placements prior to installation.
3. Employing Suitable Tools and Techniques
Why: Using the right tools promotes efficiency and safety during the installation process.
Ensure you have necessary tools like a level, drill, saw, and measuring tape. For instance, if you are installing a wooden railing, pre-drill holes to prevent the wood from splitting. Follow manufacturer instructions meticulously to optimize installation quality.
4. Ensuring Stability and Compliance
Why: Stability is crucial for safety and compliance with regulations.
Utilize brackets and anchors responsibly to secure handrails and railings. Follow spacing guidelines—typically, brackets should be installed every 4 to 6 feet. Conduct a thorough structural test after installation to ensure that the handrails can support the required load.
5. Finishing Touches
Why: Proper finishing enhances the look and lifespan of the installation.
After installation, sand any rough edges and apply protective coatings, such as paint or sealant, to ensure longevity. Additionally, address any design elements that might enhance your home's aesthetic appeal, utilizing designs that complement existing décor.
Summary of Key Points
Proper installation of handrails and railings involves careful selection of materials, precise measurements, suitable tools, ensuring stability, and adding finishing touches. By following these best practices, you enhance not only safety but also the visual appeal of your property.
Frequently Asked Questions About Handrail and Railings
What is the ideal height for handrails?
The ideal height for handrails ranges from 34 to 38 inches above stair nosings, as dictated by local building codes.
How do I choose between wood and metal railings?
Consider where the handrail will be installed. For outdoor use, metal offers durability, while wood can provide a warm appearance for interiors.
Can I install handrails by myself?
While it is possible to install handrails yourself, if you lack experience, consider hiring a professional to ensure compliance and safety.
How can I maintain my handrails and railings?
Regularly inspect for wear and tear, clean them as necessary, and apply protective coatings to prolong their lifespan.